Floral recipe and bouquet design step-by-step guide: we will explore creating a captivating floral bouquet from scratch, providing you with a comprehensive “floral recipe” to help you design a masterpiece. Whether you’re an aspiring florist or a DIY enthusiast, this guide will help you unlock the secrets to crafting a mesmerizing bouquet that will leave a lasting impression.
Floral design is an art that combines creativity, passion, and a deep appreciation for the beauty of nature. Crafting a stunning floral bouquet is an enjoyable and fulfilling experience and an opportunity to create a meaningful one for any bride.
Understanding the Floral Recipe Step-By-Step In the Bouquet Design
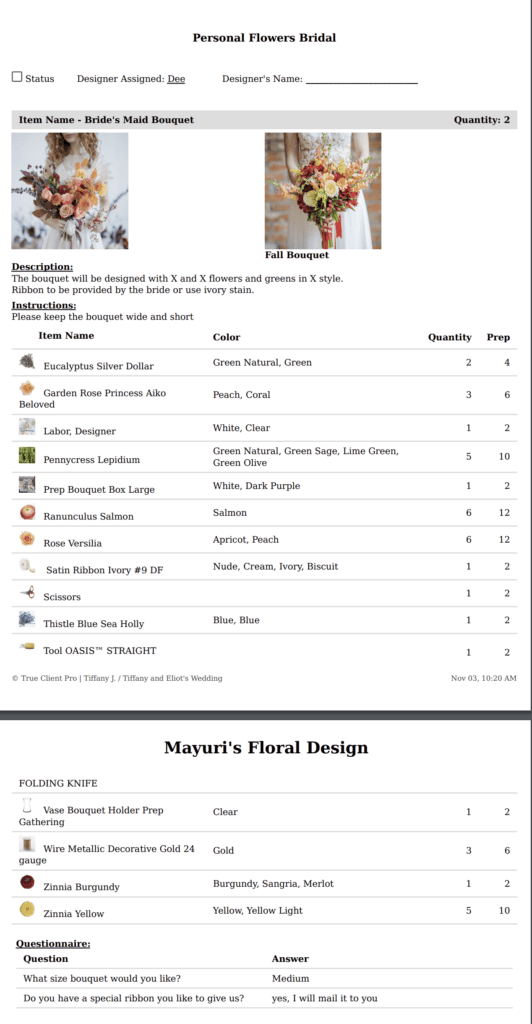
Before we delve into the creative floral recipe process, let’s take a moment to understand the concept of a “Floral recipe.” Think of it as a blueprint for your bouquet. A floral recipe is a detailed plan that outlines the types of flowers, greens, and other elements, their quantities, and the design principles you’ll use. By having a well-thought-out floral recipe, you’ll ensure that your bouquet looks stunning and carries a cohesive and meaningful message.
A floral bouquet for a wedding is a must, and it comes in many shapes, sizes, colors, styles, and textures. Head floral designer or floral freelancer designer can make a bouquet with fresh flowers, dried flowers, wood flowers, fabric flowers, and anything you can create a floral bouquet designed for your bride. Many florists have extensive knowledge of flowers, and many beginners do not.
How To Make a Floral Recipe And Bouquet Design For A Wedding
Creating a beautiful floral bouquet for a wedding is easy when you know what you need and what steps to take. Below is the list of supplies and a step-by-step process to create a beautiful wedding bouquet. Whether you are a beginner or an expert, everyone follows more or less the same steps.
Let us start with identifying what goes into floral recipes. The floral recipe will give you the quantity of each flower and greens. Floral Recipes are associated with the price of the item. The floral recipe includes the labor for design time and profitability. You can read more about it here.
Gathering Materials To Make A Bouqet With A Floral Recipe
Flowers, floral material, tools, and supplies may vary depending on your preference, expertise, and the bouquets you want to create.
YOU CAN READ MORE ABOUT THE TYPES OF BOUQUETS FOR WEDDINGS.
Fresh Flowers Are The Main Ingredients In the Floral Recipe For the Bouquet
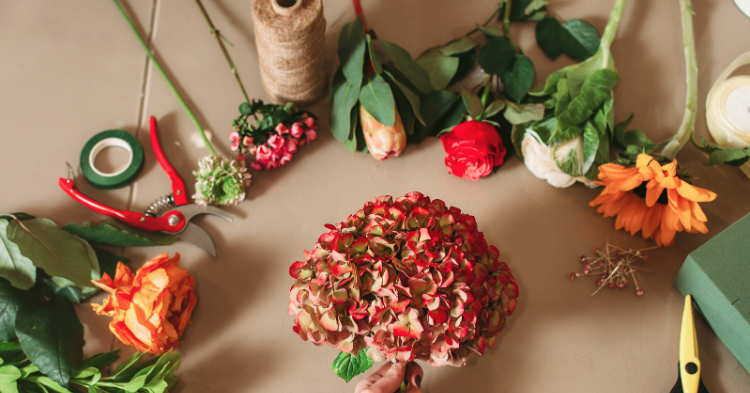
Typically, a bridal bouquet is made with fresh flowers. Fresh-cut flowers come in many colors, shapes, sizes, and lengths. There is a lot to choose from when it comes to fresh-cut flowers. Flowers are selected with colors, sizes, feelings, textures, and styles. Choose flowers in wedding colors and your preferred style. When creating a floral bouquet design for a floral recipe, common choices include roses, garden roses (read more about the most popular garden roses by Alexandra Farms here), anemones, ranunculus, lisianthus, peonies, stock, and many more that are listed in our pre-loaded floral library.
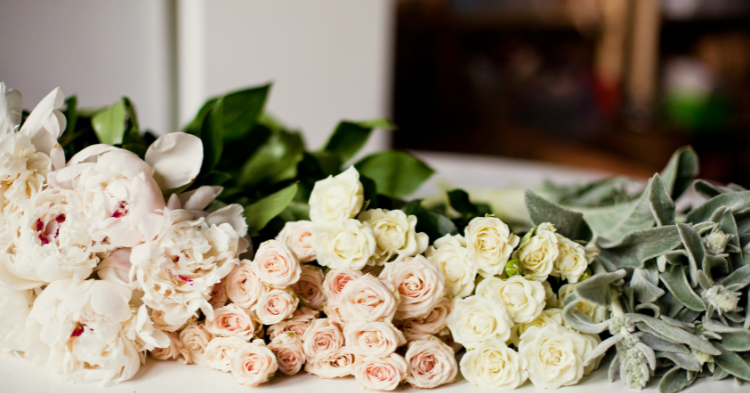
Greeneries Should Be Added In Floral Recipe For Cost Purpose Besides Design Element
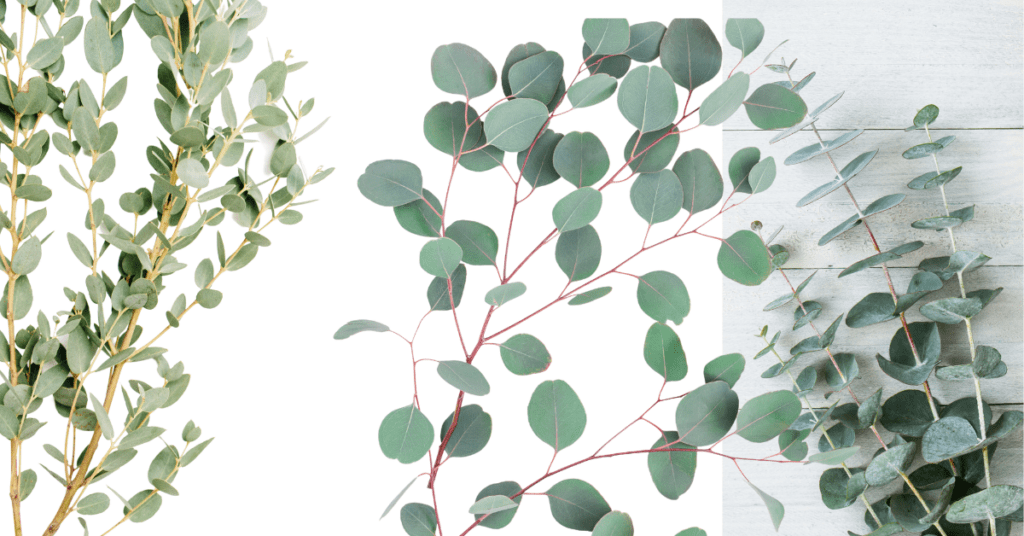
Choosing greeny will help you style the bouquet and bring a certain style to life, such as ruscus, jasmine vine, eucalyptus, ferns, or ivy. Some Greens come in shades of green, silver, white, burgundy, purple, and more. How foliage and greens are used in floral design can help your greens achieve the balance you need in the bouquet.
Floral Wires
Floral wires come in various lengths and thicknesses, which will help secure your bouquet. The thinnest gauge wires are used in fine boutonnier and corsage work along with delicate blooms to support them while giving the stem the flexibility of the flower to bend while creating the design and shape of the floral arrangement.
Floral Tapes
Floral Tapes come in various colors and widths and have nonsticky adhesive, which helps secure the stem. Common tape is green tape 1/2 inch. A new tape is available, called Bind it tape, and it comes in green and clear. There are many types of tape out there, but my favorite to wrap my thumb and fingers with is green or white waterproof green tape.
Sharp Floral Knief, Scissors, or Shears
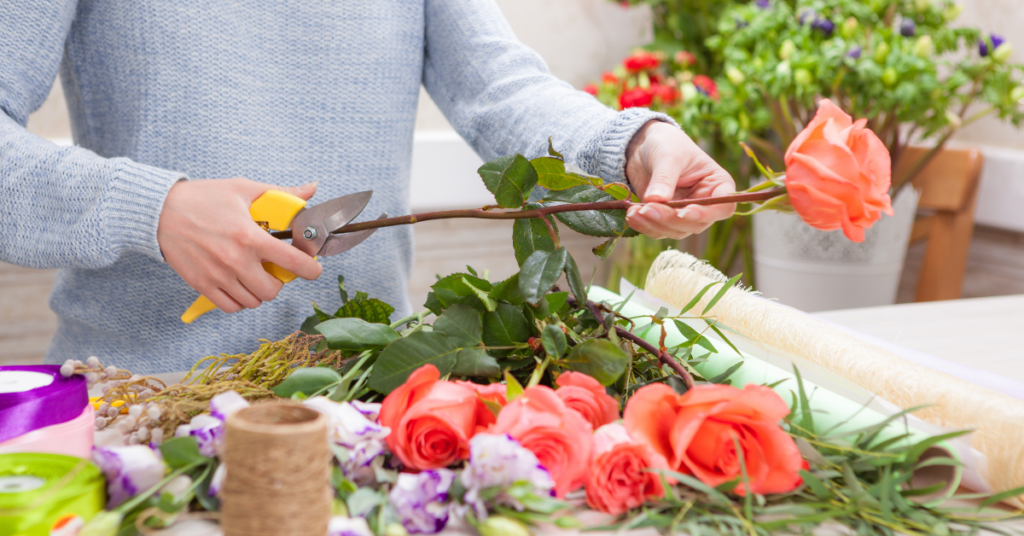
To cut the floral stems and greens, you will need a good pair of florist clippers, shears, or a florist knife to cut the stems at an angle for better hydration of the flowers.
Ribbons
Floral designers can choose ribbons from various widths, lengths, colors, and textures to wrap the bouquet handles. Ribbons add an elegant, delicate flow to the bouquet.
Ribbon Scissors:
Having ribbon scissors is optional at the beginning of the floristry. Ribbon scissors allow you to cut the ribbon without ribbon fraying and present a clean, polished look when handing over the floral bouquet you designed with love, passion, and creativity.
Pins or Brooches or Memory Charm (optional)
Pins help you decorate and secure the ribbon to the bouquet. Brides often choose to honor their loved ones who are no longer with them and add a charm to a designed bouquet with a floral pearl pin.
Floral Sealant To Keep Moisture In
To keep the floral bouquet fresh for a wedding, use floral sprays to keep it moist. There are various types of spray you can use. You can use cold water, Crowning Glory, or flora life spray.
Workbench or Foldable Table:
You will need a place to put down your flowers, greens, buckets of flowers, and tools in one place when you are designing for easy access.
Cleaning Supplies:
The basic necessary items are garbage cans, thick construction garbage bags, brooms, dust pans, buckets, and vases.
Steps To Create a Floral Bouquet For A Wedding
Before you dive into creating a beautiful floral bouquet for any bride (married or celebrant) on their wedding day, there are other processes and steps to consider. This involves from the day the client comes to you till you start designing the flowers. Read more about it here.
Step 1. Gather Your Flowers:
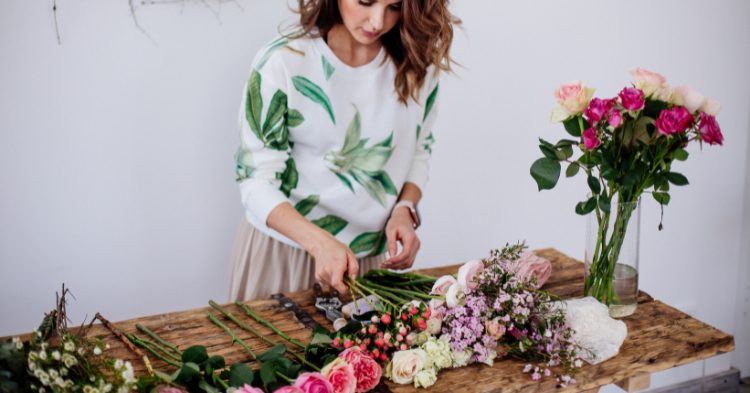
Pull all the flowers and greenery you have chosen for the floral bridal bouquet by the quantities you created in the floral recipes. Inspect all the flowers that will be added to the floral bouquet for freshness and prime condition. It’s a good idea to have a few extra stems on hand in case of some breakage or damaged flowers. Read more about the benefits of using floral software.
Step 2. Prepare Your Workspace To Get Ready to Execute the Floral Recipe Into a Designed Bouquet
Set yourself up for success by laying out all your materials and tools on a clean, flat surface. Have a vase with water nearby to keep your cut flowers fresh.
Step 3. Trim and Clean the Stems of All Flowers And Greens From Floral Recipe.
Trim the stems of your flowers at an angle, removing any leaves or thorns below the bouquet handle. Cutting at an angle allows the flowers to absorb water more easily.
Step 4. Mechanics and Wiring
Many flowers require additional support to hold up the flowers or help in design. If you have flowers such as ranunculus or succulent, they need to be wired for support.
Step 5. Create a Base
Choose a focal flower for the center of your bouquet. Arrange a few flowers and greenery around it, creating a base for your bouquet. Hold them together in your hand.
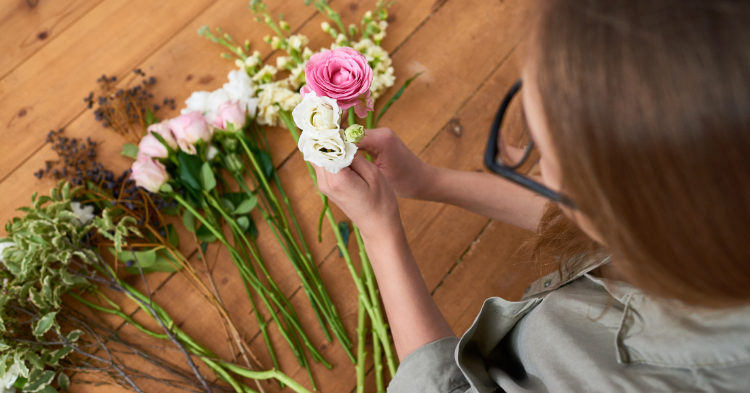
Step 6. Build the Bouquet By The Floral Recipe
Add more flowers and greenery, layering them at different heights and angles to create a balanced and aesthetically pleasing bouquet. Continue to hold the stems in your hand as you add more flowers.
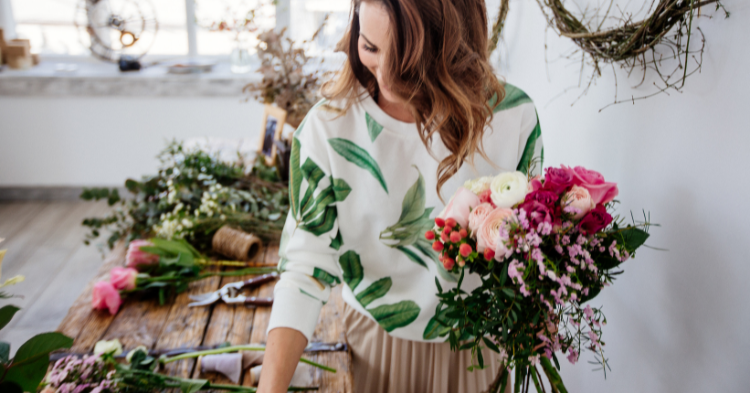
Step 7. Trim The Stems To Your desired Bouquet Length, Ensuring They Are Even, Neat, And Free of Leaves.
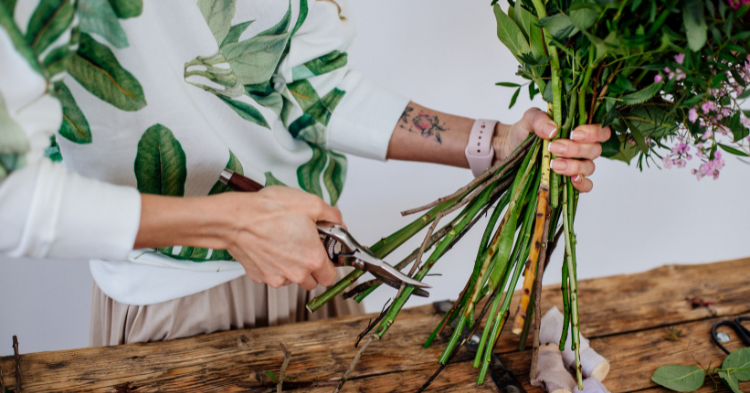
Once satisfied with the arrangement, carefully wrap floral tape around the stems to hold them together. Start below the blooms and work down the branches, ensuring it’s tightly wrapped.
Step 8. Secure The Bouquet
Once satisfied with the arrangement, carefully wrap floral tape around the stems to hold them together. Start below the blooms and work down the stems, ensuring it’s tightly wrapped.
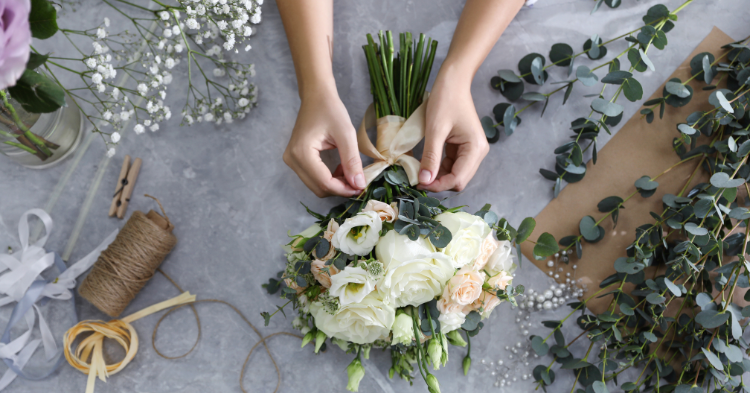
Step 9. Wrap The Handles Of All Bouquets
Wrap the handle with a ribbon to give your bouquet a polished look. Start at the top and wrap downward, securing the ribbon with pins or floral tape as needed.
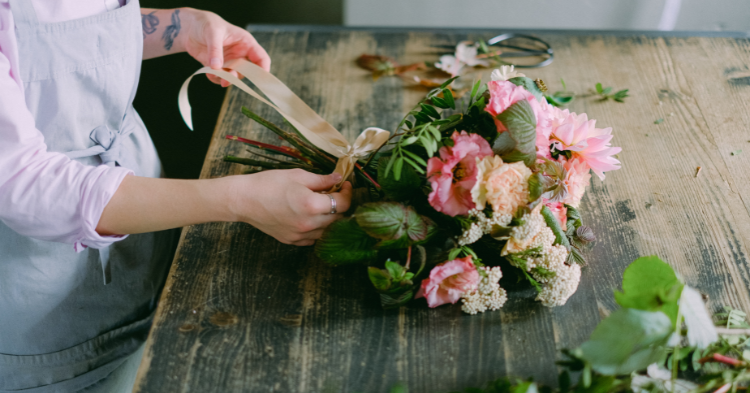
Step 10. Add Personal Touches (optional)
For a personal touch, you can add pins, brooches, or other decorative elements to the handle.
Step 11. Hydrate Your Bouquet
Place your finished bouquet in a vase with water to keep it fresh until the wedding ceremony.
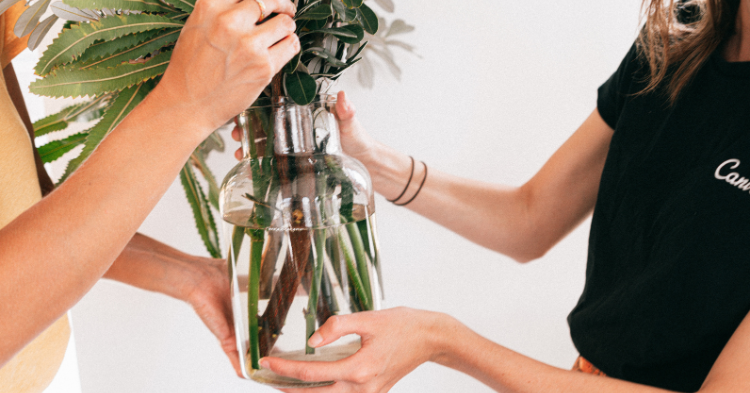
Remember to practice and give yourself time to create the bouquet before the wedding day. A backup plan or someone who can assist you if anything goes wrong is also a good idea. Enjoy the process; your homemade floral bouquet will add a special touch to your wedding day.
Step 12. Photograph & Documenting Your Floral Bouquets
Building in time to take small clips of videos and photos will help you build your portfolio. Learn more about how to photograph your floral portfolio.
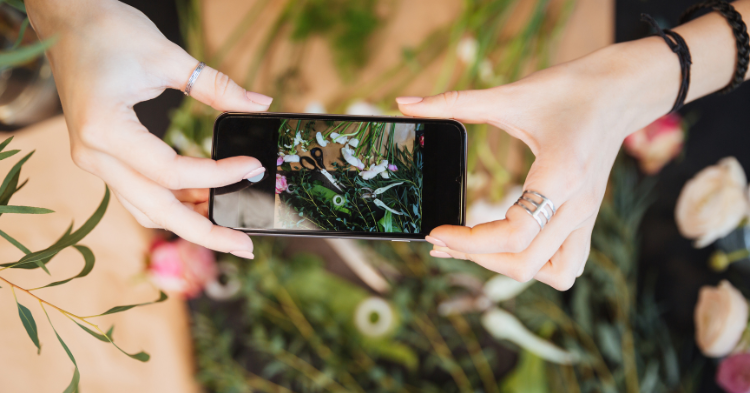
You can set up a stand with your old phone charged in the corner of the design room to capture behind-the-scenes work. You do not need to invest in an expensive camera to take photos and videos. Your phone will do just fine. It is always better if you have a camera and want to take more professional photos.
Tip: After the event is over, don’t forget to tag your photos in your photo library; on True Client Pro, you can add them to your customized Gallery under Library and access it any time when you are creating floral recipes, mood board,s or proposals for clients.
Step 13. Inspect The Designed Bouquet And Include All Items in Floral Recipes.
Many florists design the bouquet 1 to 2 days in advance ( depending on what is in the bouquet recipe) to save time. You must examine all the personal flowers to ensure they are in prime condition. Remember that all personal flowers are photographed with the most detailed shots. If you need to replace a flower or two, you can quickly do that. Inspecting goes beyond just looking at the flowers and what goes in them. It is important to follow the floral recipe step-by-step when creating the floral recipes.
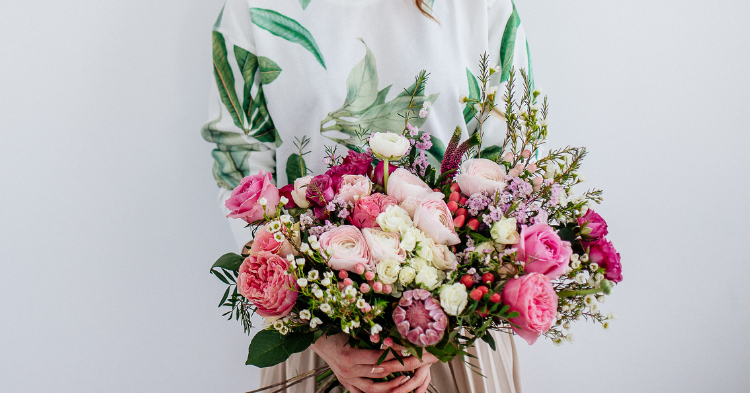
Step 14. Get Ready for Transportation: Do Not Forget To Include a Delivery Box in Floral Recipe
It is best to pack the bouquet securely since all the items will be loaded in a flower delivery vehicle for transportation. You can pack the bouquet in various ways, and you need to consider many factors.
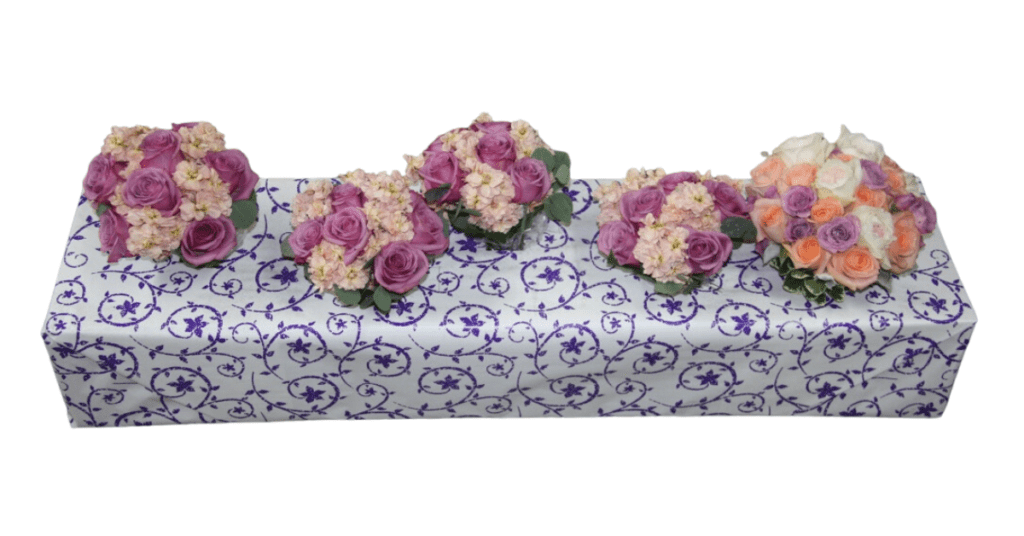
Step 15. Hand The Customized Designed Bouquet to The Bride
This is the moment when all of it comes to life. You must correct the delivery times so you can hand the Bride the bouquet yourself and see the reaction.
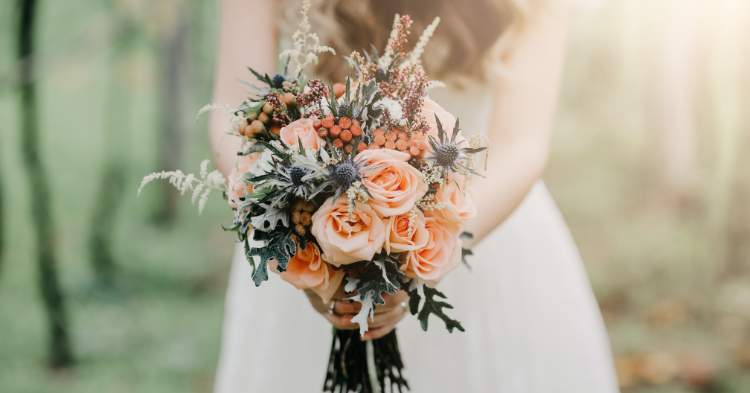
Tip: Take a picture of the video of the bouquet presentation and post it later that week. Tag the Bride, thanking her for trusting you with her wedding florals- easy transition to ask for a review.
Here are additional resources to help you succeed.
Streamline Your Floral Business With Floral Recipe Management Software


