A florist must follow a few steps to design and wire a beautiful ranunculus boutonniere. Designing a beautiful ranunculus boutonniere with wire can guarantee that the flower heads won’t break off while the recipient is wearing it.
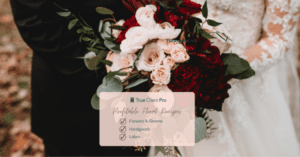
Boutonnieres are small floral arrangements men traditionally wear on their lapels during formal events such as weddings, proms, or special occasions. Today, however, anyone can wear a boutonniere, whether they are men or identify as men, along with females who are the “best women” in the groom’s party.
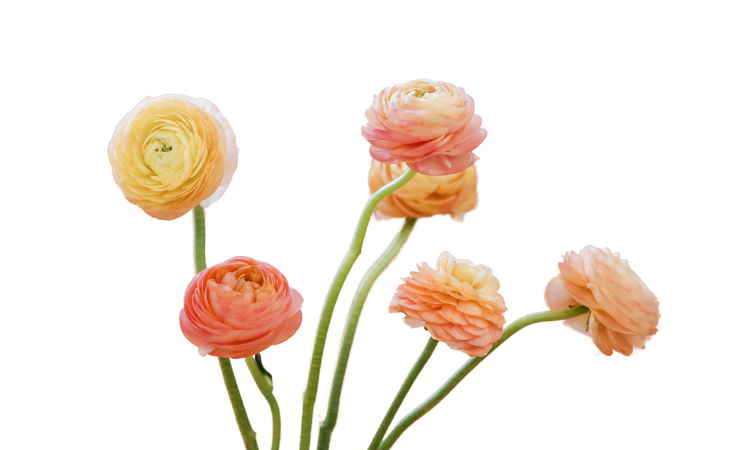
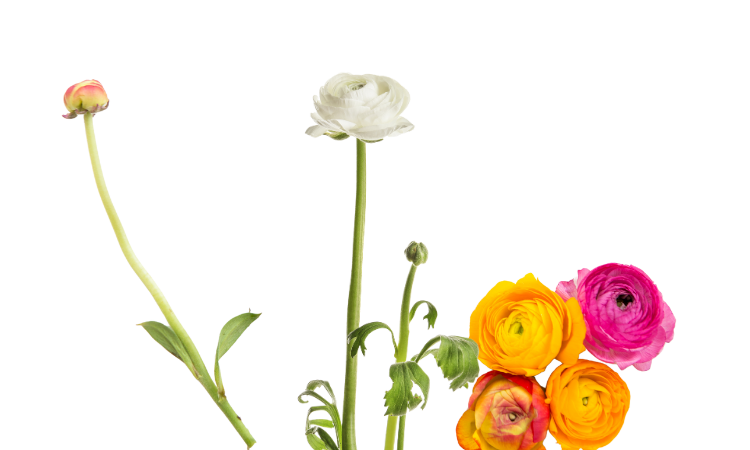
Ranunculus flowers attract attention with their delicate layers of petals and vibrant colors, making them a popular choice for boutonnieres. Read more about ranunculus here.
Floral designers actively use wire to provide stability and flexibility in their arrangements, enabling them to create intricate shapes and designs.
Materials Needed To Design a Ranunculus Boutonniere
A. You’ll require various materials for crafting a ranunculus boutonniere, including fresh ranunculus flowers, floral wire, wire cutters, floral tape, foliage (e.g., eucalyptus, ferns), and any desired additional accents like berries or small flowers.
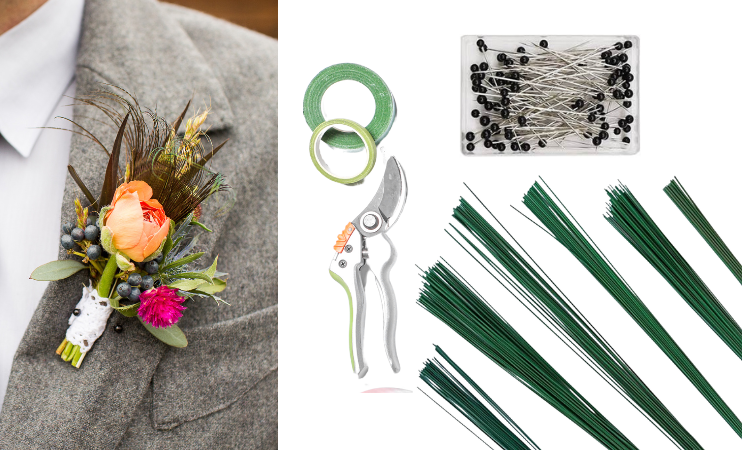
B. Each material plays a specific role: wire provides support and structure, floral tape secures wires and stems, foliage adds texture and depth, and accents contribute to personalization and style.
Preparing the Ranunculus Flower For Design
When pulling or reserving flowers for personal work, instead of 1 ranunculus for the boutonnier, pull one extra for the groom. Ranunculus flowers are fragile. Often, the groom and groomsmen will have photos where they are bumping chests, jumping, or hugging, and flowers may get destroyed. It is also recommended that the bride have two boutonnieres for the groom.
In Mayuri’s Floral Design Business, we included a second boutonniere for the groom without charging an additional fee when fragile flowers such as ranunculus and anemones are involved.
A. Select a fresh ranunculus flower with a sturdy stem and vibrant petals. When selecting the ranunculus for the boutonniere, consider the size of the flowers, the color of the flower, how open the flower is, the shape of of the stem, and whether it is straight or curvy.
B. Most ranunculus foliage is lower on the stem. Take caution and trim away any excess foliage and buds from the stem to create a clean base for your boutonniere. Save the bud from the flower; it adds character to the boutonniere.
C. Assess the length of the stem, ensuring it’s suitable for the boutonniere’s size and trimming it if necessary. Typically, it should be between 1.5 inches and 1.75 depending on the size of the ranunculus flower.
Wiring Technique For Ranunculus Boutonniere
A. Familiarize yourself with wiring flowers, reinforcing, and supporting stems for better control and stability in floral arrangements.
B. Wire your ranunculus by selecting an appropriate gauge wire, threading it through the stem, securing it firmly, and wrapping it with floral tape to conceal the wire and provide a polished finish.
Depending on the design, you can use Bind it Tape or Green Corsage Tape

Here is a video on how I wire a boutonniere
Designing Ranunculus Boutonniere
Most of the time, the design of the boutonnier is already determined by the florist when consulting with the client and making floral recipes. Floral recipes are housed on floral software, allowing the business owner to add production notes about designing a boutonniere with specific notes.
A. Plan your boutonniere’s arrangement, considering color scheme, size, and style preferences.
B. Select complementary foliage to enhance the beauty of the ranunculus and add visual interest to your design.
C. Incorporate additional accents like berries or small flowers to personalize your boutonniere and enhance its aesthetic appeal.
Final Step Assembling the Ranunculus Boutonniere
A. Follow a step-by-step assembly process, starting with preparing your foliage and accents for arrangement. Remove any leaves from the greens and filler that will be included in securing the stems with tape.
B. Add wire to the ranunculus using either method. One way to add wire to the ranunculus for a boutonniere is to add wire from the top of the flower center and bend the tip to create a hook. The second way is to add a wire from the bottom of the hollow stem of the ranunculus and bend the tip once the wire has pierced through the very center of the flower.
Once the wire is added, add the greenery and a small piece of tape to hold it in place. Add the filler flower and add a small tape to it.
Tip: if you add the tape down, the boutonniere stem can become bulky. To avoid the bulkiness, add a small stretched piece of tape.
C. Ensure all elements are securely fastened together, making any necessary adjustments for symmetry and balance.
D. Conduct a final inspection to ensure your boutonniere is well-crafted and ready for wear.
Finishing Touches For The Designed Boutonniere
A. Evaluate the overall appearance of your boutonniere, ensuring it achieves the desired aesthetic and balance.
B. Trim any excess stems and wires to create a clean and polished finish.
C. Add final embellishments, such as ribbons to enhance the boutonniere’s visual appeal and personalize it further. Add pins or magnets to secure the boutonniere to the lapel.
Tips and Tricks For Creating Boutonnieres
A. Experiment with different wire techniques to create unique shapes and designs in your boutonniere. You can add wire to the eucalyptus leaves and lemon leaves to bend it in the shape as needed.
B. To extend the longevity of your boutonniere, store it in a cool, humid environment and lightly mist it with water before use. You can add the boutonniere to the boutonnier container or clear bag. Some florists like to practice adding the boutonnier in a sealed container and calling it a ” Hydration chamber.”
This is a video on carefully placing your boutonniere in a bag.